English ![]()

+86-17692703999
+86-17692703999 No. 6, West Side Auxiliary Road,
Sunshine Street, Linxi County, Xingtai
City, Hebei Province
Sunshine Street, Linxi County, Xingtai
City, Hebei Province

Views: 0 Author: Site Editor Publish Time: 2026-07-02 Origin: Site

Operating heavy machinery with worn loader bushings isn't just an annoyance; it accelerates wear on expensive structural components and degrades load control. For fleet managers and owner-operators, deciding when and how to replace these components is a critical maintenance calculation balancing downtime against the risk of catastrophic bore damage. Ignoring early slop often leads to extensive, preventable repairs. The margin between a scheduled fix and a massive structural overhaul remains extremely thin. This guide breaks down exact wear symptoms, engineering fit tolerances, and procurement criteria to ensure your next replacement cycle yields long-lasting performance. You will learn how to secure reliable components efficiently. Careful planning guarantees your equipment stays productive on the job site.
Unplanned downtime costs exponentially more than scheduled maintenance. Identifying the exact source of play remains your first step in the replacement decision. Ignoring minor joint slop creates cascading failures across the equipment. Finding the problem early saves extensive repair labor down the road.
Listen for distinct audible warnings during operation. You might hear loud clunking or snapping sounds during load transitions. These noises often indicate severe metal-on-metal friction. Look for visual indicators like visible bucket droop. Delayed hydraulic response, often called bucket drift, signals excessive clearance. You might also notice uneven wear patterns on tires. Load imbalance shifts weight unpredictably across the axles.
Use a standardized field check method to verify joint wear.
You must distinguish between simple pin wear, bucket bushing degradation, and actual bore elongation. Bore egging requires extensive structural repair rather than a simple part swap.
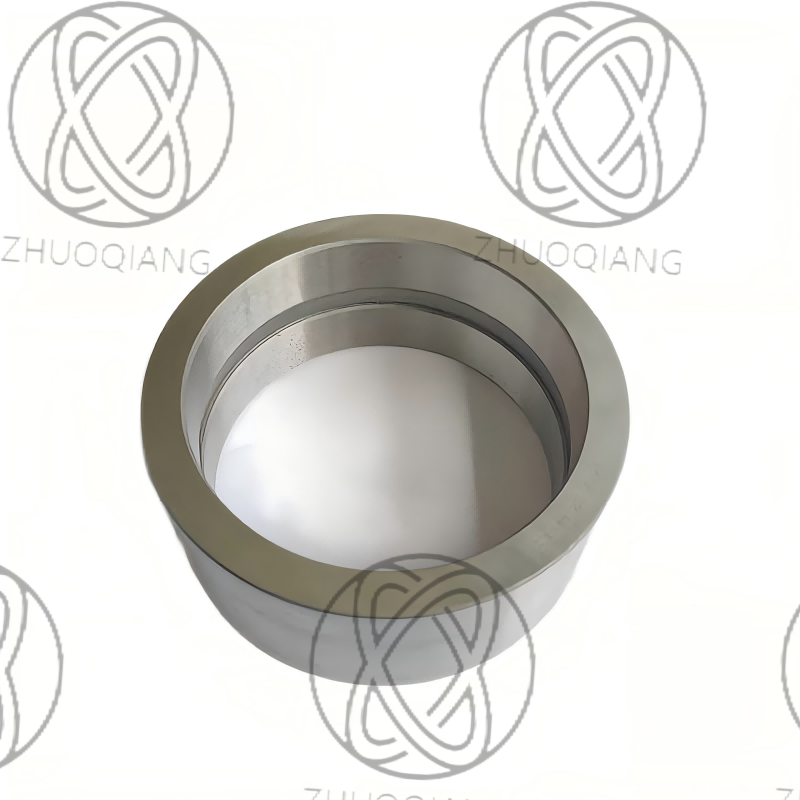
A replacement only performs well if its dimensions remain strictly accurate. Incorrect tolerances lead to premature galling. They can also cause immediate structural failure under load. Every construction machinery bushing demands high precision to function safely.
You must understand the critical balance of engineering clearances. Fitting parts too tightly restricts essential grease flow. This lack of lubrication causes sudden seizing. Fitting parts too loosely accelerates impact wear during operation. Always reference OEM service manuals for exact tolerance requirements. These measurements usually fall within specific thousandths of an inch. Specific requirements vary based on the pivot location. Base arms handle entirely different stress loads than tilt cylinders.
Proper replacements require strict outer diameter (OD) interference fits. The component must press tightly into the housing. This prevents destructive rotation within the bore. Assess the condition of the housing carefully before installation. Sometimes you can accept a standard replacement size safely. Other times, severe wear makes oversized parts mandatory. If the bore shows significant egging, line-boring becomes strictly necessary.
| Fit Condition | Primary Symptom / Risk | Corrective Action Strategy |
|---|---|---|
| Too Tight | Seizing, restricted grease flow | Verify pin size, check for bore distortion |
| Ideal Clearance | Smooth rotation, proper grease film | Follow standard OEM greasing intervals |
| Too Loose | Slop, impact damage, rapid wear | Measure housing, consider oversized OD |
Not all replacements deliver the same field performance. Material choice directly dictates maintenance intervals. It also determines overall component survivability. Choosing a reliable heavy duty bushing requires evaluating your specific environmental conditions.
Industry standards rely heavily on induction-hardened steel. This durable material excels in high-impact, low-speed applications. It resists severe shock loads common in earthmoving tasks. Alternatively, manganese and bronze alloys offer specialized friction reduction. We use these softer alloys for specific smooth-rotation requirements. You must apply the engineering logic of hardness matching strictly. The replacement part should remain marginally softer than the pin. This dictates predictable wear patterns across the joint. The cheaper component sacrifices itself to protect the expensive pin.
Lubrication architecture plays an equally vital role in longevity. Evaluate grease groove patterns based on your operation.
Match the groove style to your regular greasing frequency. Consider the primary load type your equipment handles daily. Proper grooving channels grease exactly where high-friction zones develop.
Procurement managers must weigh upfront expenses against lifecycle durability constantly. Replacing components involves analyzing labor and downtime factors deeply.
Sourcing a genuine CAT loader bushing offers distinct operational advantages. OEM parts guarantee correct metallurgy and exact dimensional compliance. They also preserve existing equipment warranties safely. However, OEM options often carry premium price tags. You might also face potential lead time delays.
Premium aftermarket alternatives offer compelling benefits for specific fleets. They provide excellent cost efficiency for older equipment. You can find specialized upgrades tailored for harsh environments. Waste handling and quarry operations benefit greatly from custom alloys. The main drawback involves inconsistent quality control risks. You must vet aftermarket suppliers carefully to ensure reliability.
Consider the real labor cost of replacement tasks. Saving slightly on a sub-par wheel loader bushing creates false economy. If the inferior part fails twice as fast, you lose money. Labor hours and machine downtime easily exceed the initial savings. The math strongly favors durability over cheap initial acquisition.
Buying the right part represents only half the battle. Improper installation destroys new components instantly. Mechanics face significant extraction challenges regularly.
Managing seized parts requires highly strategic removal techniques.
Avoid heavy hammering whenever possible. Impact force easily cracks the surrounding cast housing.
Installation methods must avoid galling at all costs. Thermal manipulation offers the safest insertion technique available. Using liquid nitrogen or dry ice shrinks the OD temporarily. This allows a smooth drop-in fit without destructive friction. If using hydraulic pressing, ensure perfect alignment beforehand. Crooked pressing shaves metal off the OD instantly. It can also crack the expensive structural housing.
Always perform post-installation validation checks thoroughly. Establish strict initial greasing protocols immediately after insertion. Schedule a mandatory 50-hour break-in inspection. Re-measure the joints to confirm everything seated correctly.
Replacing a loader bushing is a high-stakes maintenance event. Success hinges entirely on precise diagnosis and strict adherence to clearance tolerances. Smart procurement prevents premature failures and keeps your fleet operational.
Proactive management extends equipment lifespan significantly. Careful execution during installation guarantees maximum uptime for your operation.
A: Inspect both components for uneven wear patterns and deep scoring. Standard practice dictates replacing them as a matched set. Wear parity means an old pin will rapidly degrade a new replacement surface. Installing a fresh set ensures proper clearance and maintains the intended lifespan of the joint.
A: Replacement intervals vary dramatically based on the operating environment. Heavy rock handling accelerates wear faster than loose dirt operations. Load material abrasiveness and strict adherence to greasing disciplines play major roles. Generally, fleet managers inspect joints every 1,000 hours, planning replacements when slop exceeds OEM tolerance limits.
A: Field replacements are possible but highly challenging. You need specialized tooling for safe extraction and installation. Transporting hydraulic presses, arc gouging equipment, and thermal gear to a job site adds complexity. Bringing the machine to a controlled shop environment usually ensures a safer, more precise fit.
A: Excessive damage requires a professional line-boring process. Technicians weld the inside of the elongated bore to add material. They then machine the bore perfectly round to match the factory specifications. Sometimes, they install a custom oversized sleeve to restore the original inner diameter accurately.